
Dead Cells bills itself as a Metroidvania Roguelike. It’s a 2d platformer, where you find randomized loot and fight through procedurally generated levels. You have 5 slots on your character for items: 2 weapons, 2 tools, and an accessory. Your basic options are to use your weapons or tools, jump, double jump, roll, chug a potion, ground pound, or generic use button.
Dead Cells’ big influence is from Metroidvanias, and I think the influence is definitely positive on the game, but I don’t think it’s really a metroidvania, and I don’t think making it more like a metroidvania would be good for it. Metroidvania is a design pattern across the entire map of a game’s world, where the map loops on itself, allowing areas from later in the game to fold back on areas from earlier in the game, where objectives are dispersed across this map to encourage unique routing. Despite technically not being a metroidvania, the level structure it chose for itself is still extremely effective in its goals.
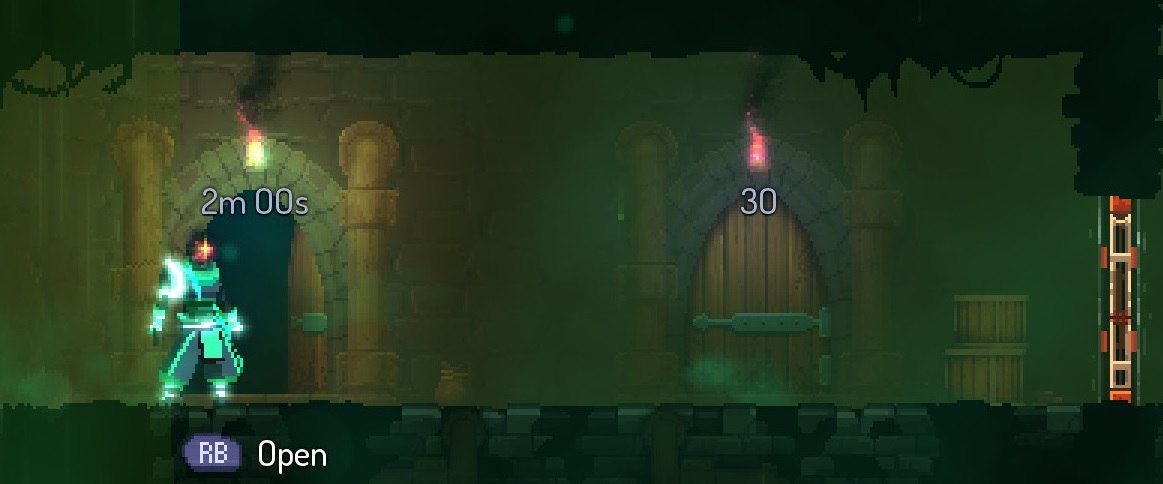
Maps in Dead Cells follow a few simple patterns, having an obvious main path with a few detour side paths (Promenade of the Condemned, Ramparts, Stilt Village); branching off into many separate paths with different exits, and teleporters to carry you back (Prison, Toxic Sewers, Ossuary); and having one clear path with few diversions (Ancient Sewer, Slumbering Sanctuary, Forgotten Sepulcher). Metroidvania structure is based on interconnection within the levels, and across the world. Since levels in Dead Cells branch without looping, they can’t have Metroidvania style interconnection. The exception is High Peak Castle, which has 4 maps in one. A main map that has a looping structure, and 3 linear sub-maps that connect different areas of the main map, thereby making even more loops. Tactically, it also has less teleporters than most of the other maps. It’s the second to last level of the game, which I feel is an appropriate ramp up in complexity. Much of the actual level design within maps is looping, even if the maps as a whole don’t loop, which is helpful for weaving around enemies, avoiding their attacks, and picking good positions to attack back from. The sewers in particular have large blocks of the map with a swiss-cheese-like composition, filled with enemies. Again, I’m being a little pedantic about Dead Cells not really being a Metroidvania. The branching maps and dense level design they took from their inspiration make exploring in Dead Cells really fun and it’s definitely a lot stronger for that influence. If they went further and made levels loop more, it would likely have taken away from the focus on quick clear times and speed that they included into the game.

Dead Cells generates maps for different stages that each have a recognizable character to them that’s distinct between maps, which is really cool! It makes the experience of playing each stage distinct from the others, and gives you a level of regularity in the level/map design that lets you build expectations about how best to tackle each stage, and make informed interesting choices. The teleporters scattered across maps help you double back from dead ends, which is very helpful in the timed levels. Because most levels have a clear directionality to them, you have a general idea of whether you’re getting closer to the ending. Only the clock tower is really misleading, because it’s totally possible to go up a whole tower and it ends up being a dead end. Promenade of the condemned and ramparts both have a linear top path, with branches that go straight down with optional goodies. Clock Tower has paths straight up that occasionally branch into 2. Ancient Sewer and Ossuary are linear with some short diversions. Stilt village has a linear path to the end, but some big buildings with multiple rooms in each, one of which you need to retrieve a key from. Slumbering Sanctuary is Y shaped, having you go on a linear path to unlock all the doors in the level, but also spawning a ton of enemies, then you have the option to teleport back to the beginning of the level and retread your path for extra goodies that get unlocked, or backtrack from where you are. Forgotten Sepulcher is mostly linear with short detours, the darkness gimmick making up most of the challenge of the level. And High Peak Castle is a full looping layout, as described before.
Dead Cells encourages you to speedrun it, and will naturally give you a movement/attack speed buff for killing 9 enemies in quick succession, letting you refresh it with each enemy you kill. Every stage has a post-stage locked room that can only be unlocked by satisfying a special condition, either completing the stage before the timer from the start of your run has gone too long, managing to kill 30-60 enemies in the previous level without taking a hit, or beating a boss without taking a hit. Speedrunning is the easiest of these conditions to clear and on normal difficulty, speedrunning can give you powerful weapons early, as well as being one of the fastest ways to farm cells. The killstreak bonus helps compensate for players who are more methodical and careful, more invested in exploring the whole level before moving on, but if you get touched, you can lose a long killstreak you were one kill away from completing, without enough enemies left in the level to make it up, which can be painful. In any case, it’s neat to see both of these play styles rewarded.
Dead Cells has a lot of control concessions made to make the game feel more smooth. All attacks let you change their facing direction right up to the moment they become active. Most attacks let you cancel out of them with a roll or jump during the startup or recovery, they even implemented Dodge Offset, so you pick up an interrupted attack string from where you left off, which is helpful because most weapons have strings where attacks grow in damage on the 2nd or 3rd hit (or where the hitboxes are different). The Rapier notably avoids dodge offset, because the first attack is the strongest. It’s frequently wise to get in a few attacks, roll or jump away, then continue where you left off. Rolls also have a TON of invincibility, even long after the point you’d expect it to wear off. These generous cancel windows, combined with punchy animations give Dead Cells a very arcadey feel, without taking away from the feeling of weight and commitment, especially on the heavier weapons.
You’re given some basic movement options to work with in Dead Cells, a double jump, roll, and ground pound (called stomp). Certain gear and runes can give you new movement capabilities, such as a dash, an even faster dash, wallclimbing/jumping, or more double jumps. The character also has automatic vaulting animations for climbing up small obstacles, up ledges, or onto platforms. These have an extremely generous snap-to area, to the point that it can be kind of annoying trying to fall down narrow pits. This vaulting system can make traversing the level feel very fluid and simple, as you platform normally, but try to aim at snap-to points for traversal. Rolling will pass straight through enemies, even letting you pass through them for a little bit after it ends.
It’s becoming a rather basic and ubiquitous thing, but Dead Cells copies the Dark Souls style of healing, requiring you to hold down a button and go through an interruptable animation to heal yourself from a limited reservoir that heals a set percentage with each use, and is only refilled at the end of stages (though you can also heal through random drops, or buying food from merchants; and higher difficulties reduce and eventually remove your sources of healing). There’s also a mechanic called Sudden Death Prevention, which insulates you from death. Any hit that would kill while your health is over 25%, instead reduces you to 1HP. This can help preserve the fairness and integrity of encounters by avoiding 1 shots, but is also loose enough that it won’t get triggered from you getting whittled down by multiple weaker attacks.
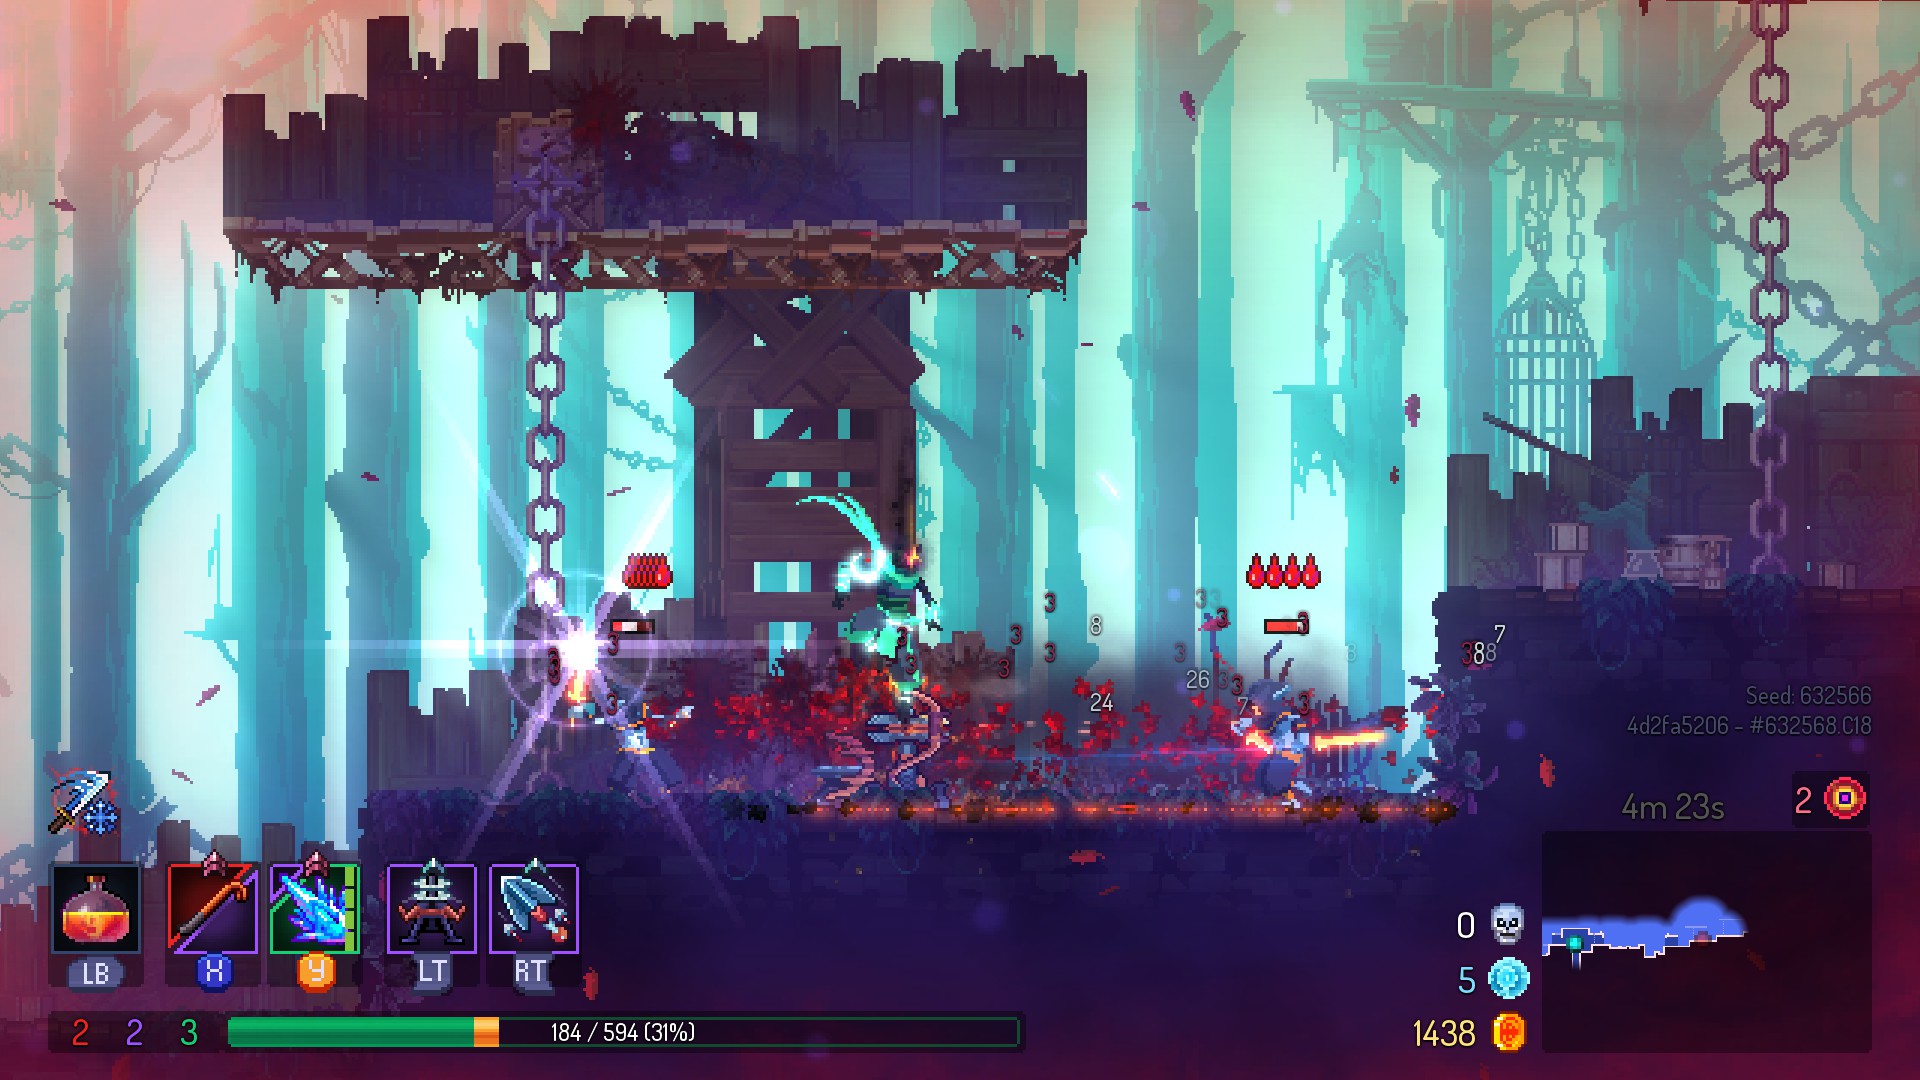
Even early enemies have a fair amount of variety that can make your approach to them fairly different. Some enemies are strong on their own, most others require synergy from others to cover for their weaknesses. All enemies mix well together and tend to have differently shaped zones that they attack, and some can only be attacked from some angles. This means you need to think about which evasion option you’ll use, and whether you’ll end up in an unthreatened space. Since enemies cover different zones with their attacks, their attacks can overlap each other, creating unique situations based on their positioning and the environment. If you can catch an enemy alone, you can almost always overwhelm it before it gets a chance to hit back, unless it’s an elite enemy.
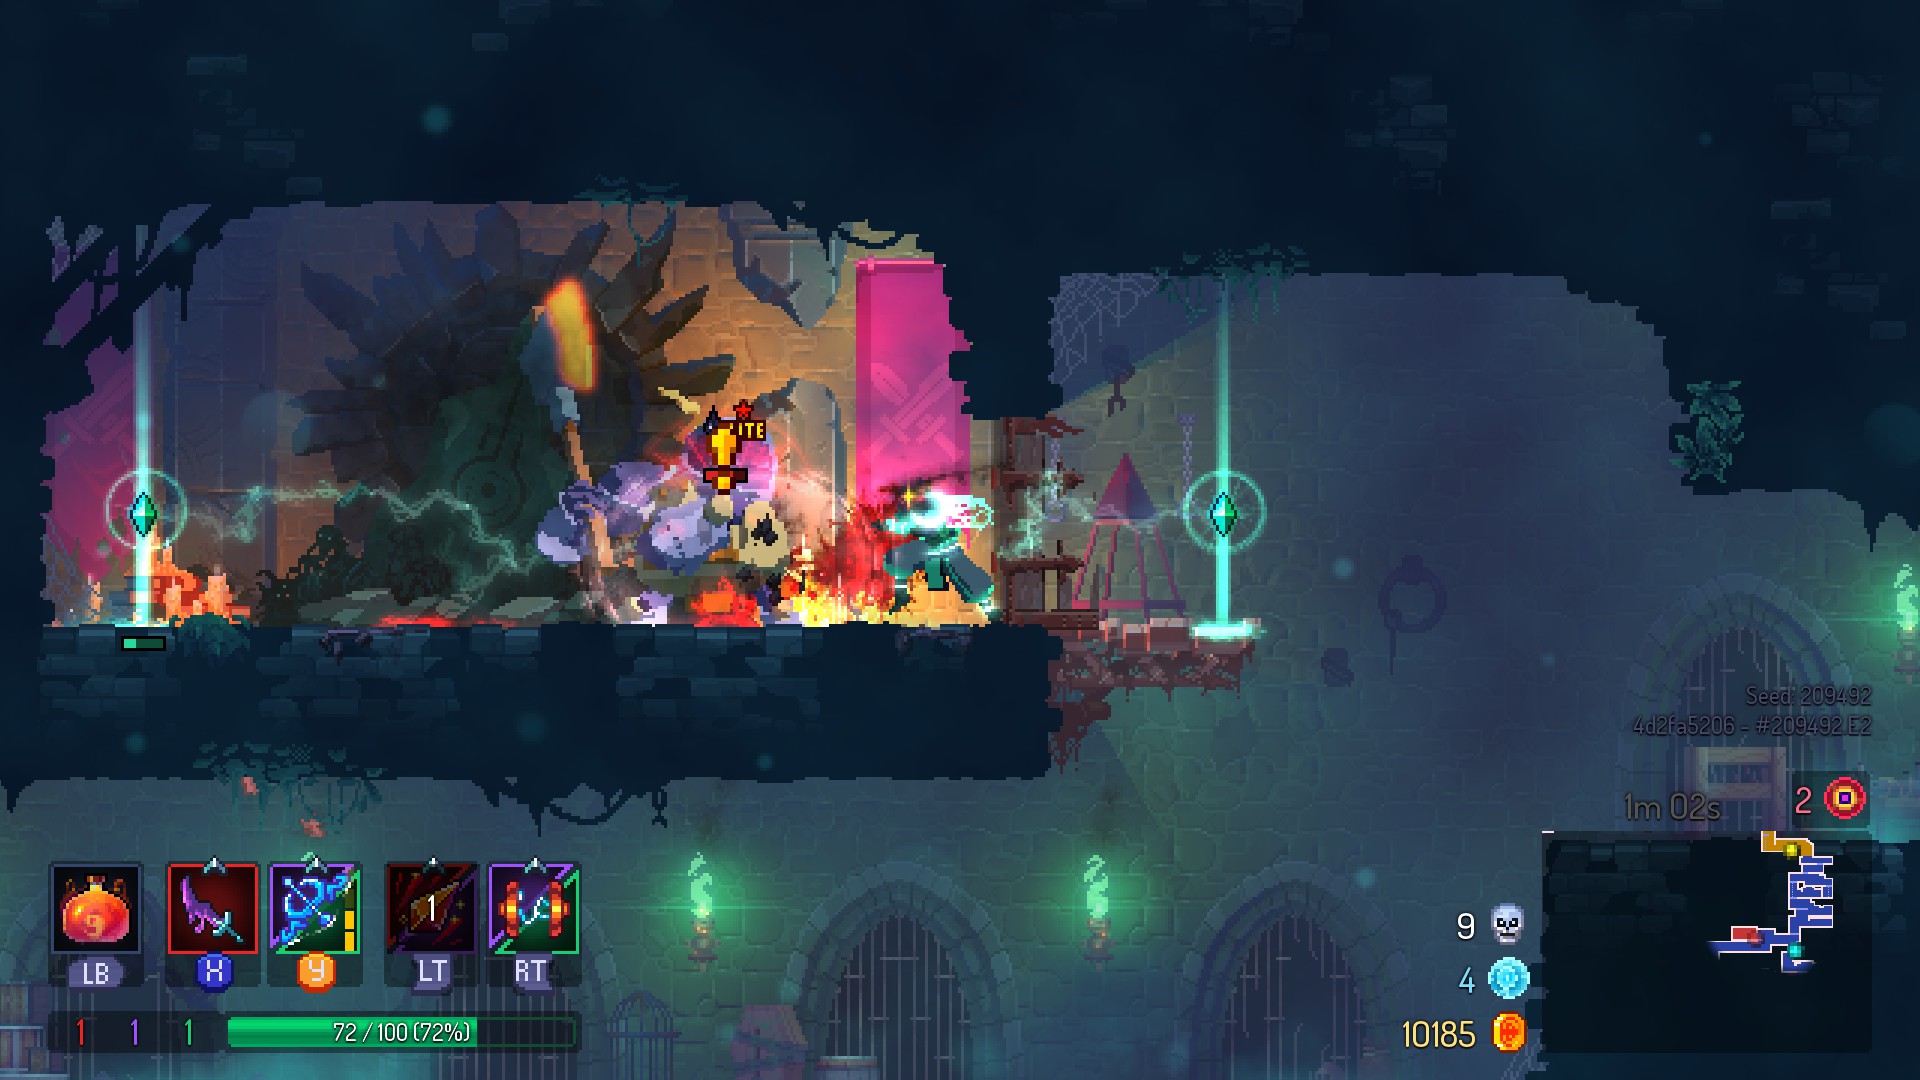
Zombies cover a big horizontal sweep when they lunge. Shieldbearers do the same, except not as big, and if you attack them from the front, your attack will bounce off, so you need to roll to stay behind them, or find a way to stun them from the front. Grenadiers and its evolutions leave an explosion on top of you, which requires you to keep moving to avoid damage. Bats and Kamikaze bats both die in a single hit, but one is dangerous because it gets directly on top of you, the other because it hangs around out of range until it lunges across your space, both can be very annoying to deal with if you only have slow or short range weapons. Sweepers and other enemies have shockwave attacks that travel through the ground, and cannot be dodged through. Disgusting worms are slow and have a small attack range, but take a lot of hits to kill and launch 5 explosives when they die, so they can sponge up your damage, and if you’re in a tight space, it might be hard to avoid the fallout. Scorpions and Knife throwers can appear suddenly and quickly shoot ranged projectiles while you’re occupied with other enemies, but they can also have their ranged attacks interrupted easily. Thornys will hurt you if you backstab them, and their rollout attack leaves their backside facing you if you get hit. Impalers can create spikes under you, requiring you to move to another spot quickly or take damage. Protectors need to be prioritized because they’ll protect all nearby enemies until eliminated. Shockers need to be focused on quickly or avoided as they hit a massive circular AOE around them.
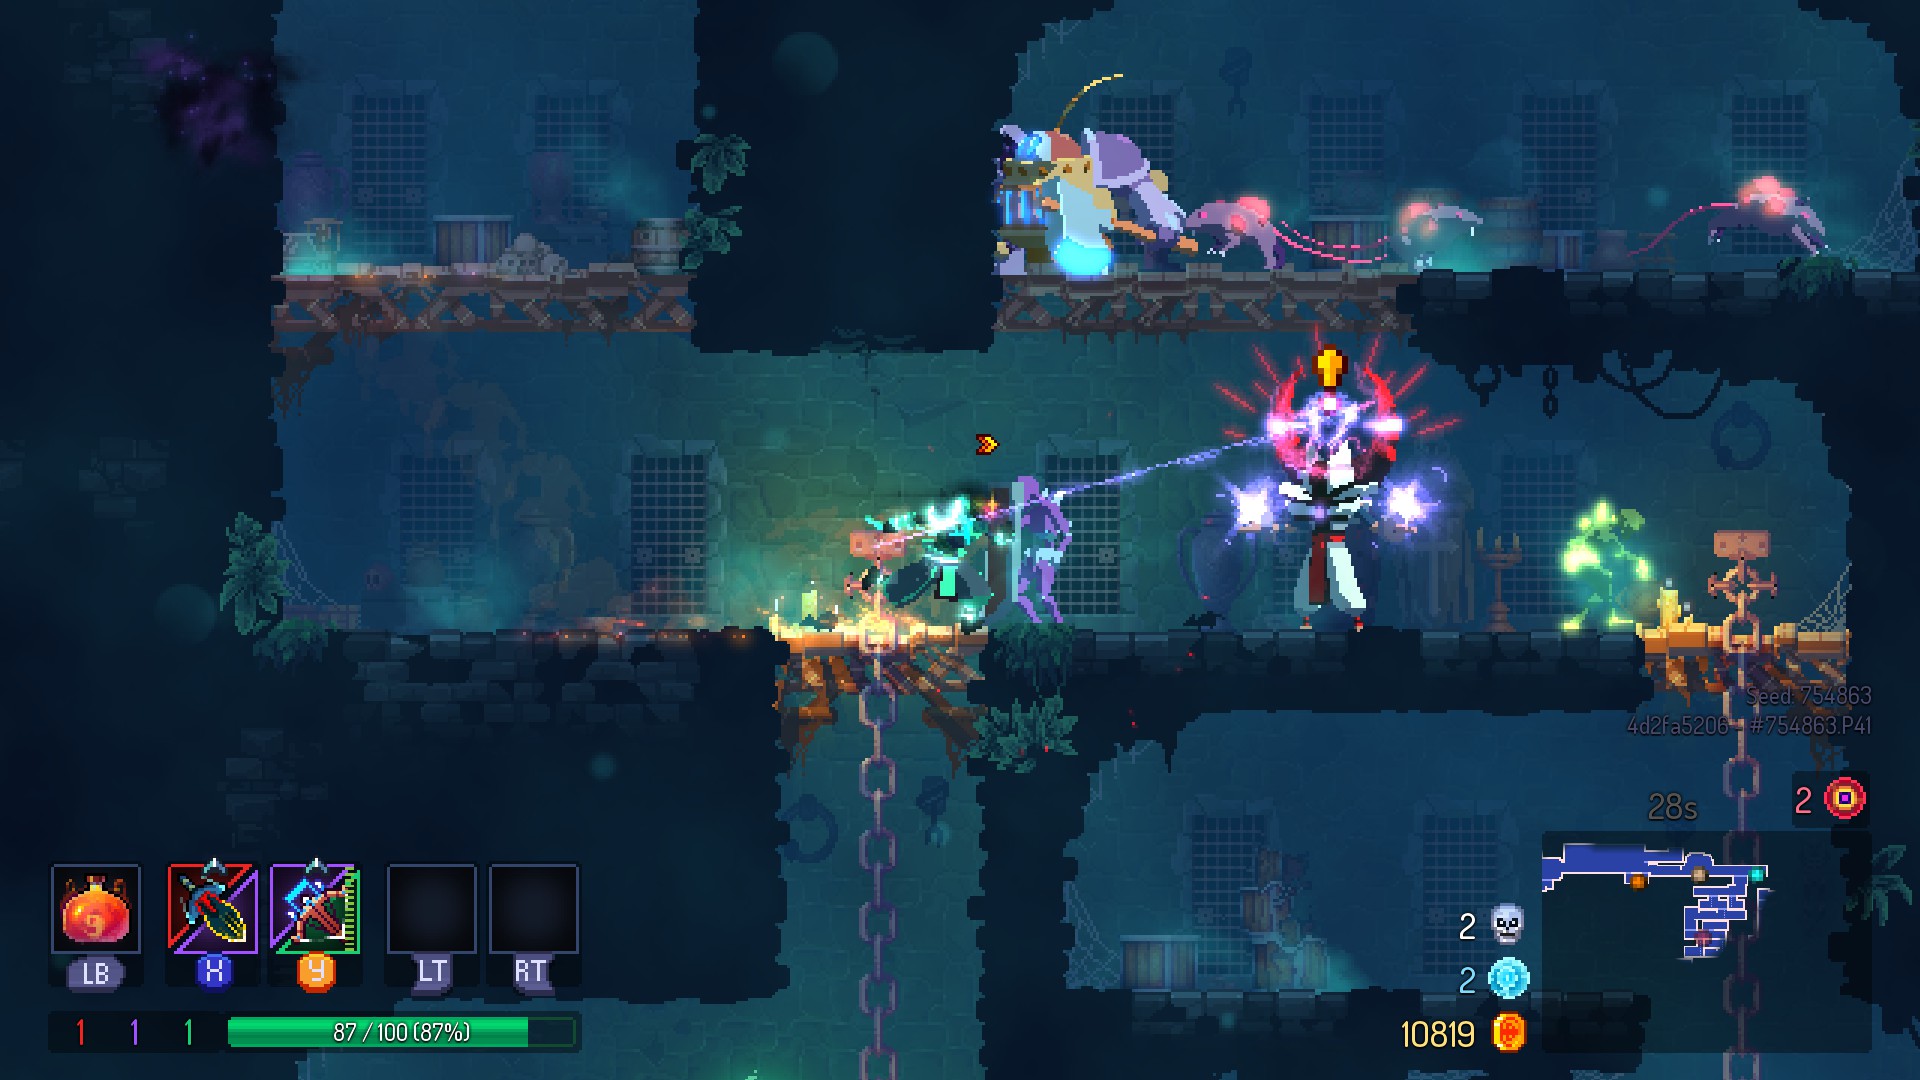
Elite enemies can be very interesting. They have more health to prevent you from just obliterating them on the spot, and a number of special abilities, usually lasers that themselves attack a unique spatial zone, such as one that rotates around the enemy like a clock, a horizontal one that raises up across the screen, one that surrounds the elite in a large rectangular box to hurt you if you try to run away, a spherical one that surrounds the area directly next to the elite, a horizontal one that hits on both sides of the elite and needs to be jumped away from, a gem on both sides that need to both be destroyed in order to hurt the elite directly, and a gem that hovers above the elite and rains shots down on you as you try to fight it. Elites can also teleport after you once they’re below 50% health, so if you commit to fighting an elite, you better get ready to kill it or be killed.
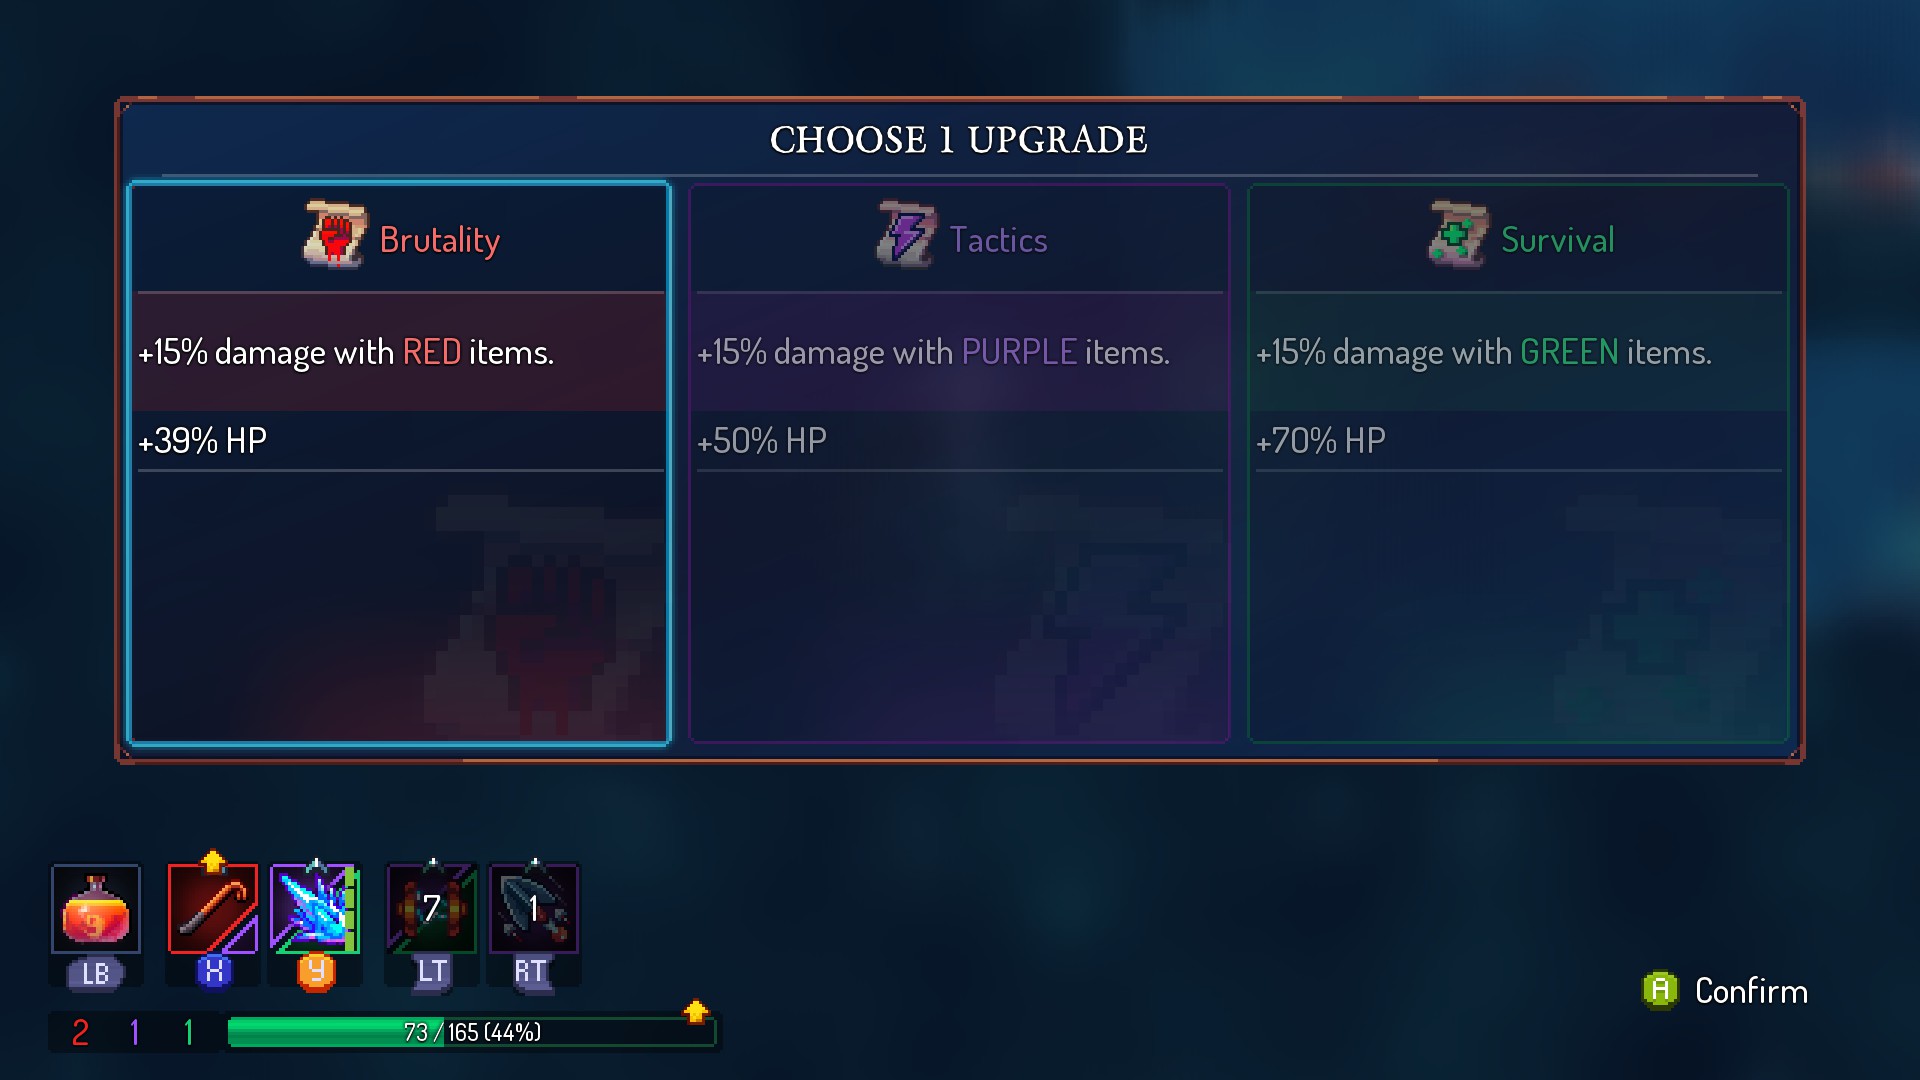
A lot of character progression across a given run is facilitated through levelup scrolls, of which there are about 2-4 in each level. These let you pick a stat to level up between brutality (damage focused weapons), Tactics (long range weapons), and Survival (Mostly boosts health, only the primary stat of shields and defensive powers). All of these multiply health and damage and boost the stats of mutations you have applied. You can pick a mutation after each stage, giving you a buff, I found mutations to be a bit underwhelming and they don’t get buffed much by levelups either. That said, they can help make character builds a bit more unique and I did find myself optimizing my character to overcome specific encounters, based on the weapon loadout I had available. Most of the mutations are insignificant in comparison to weapon upgrades or leveling up.
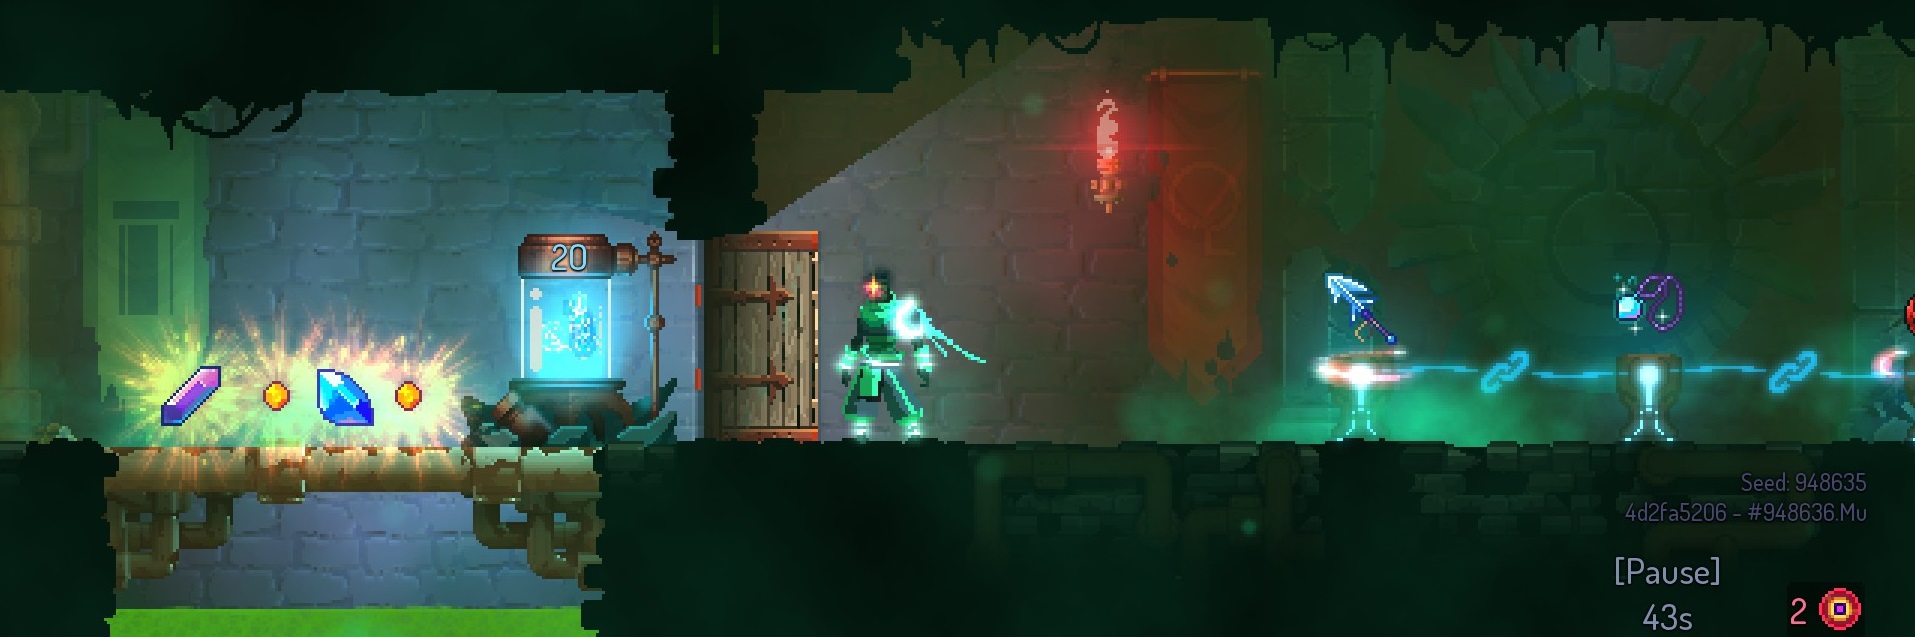
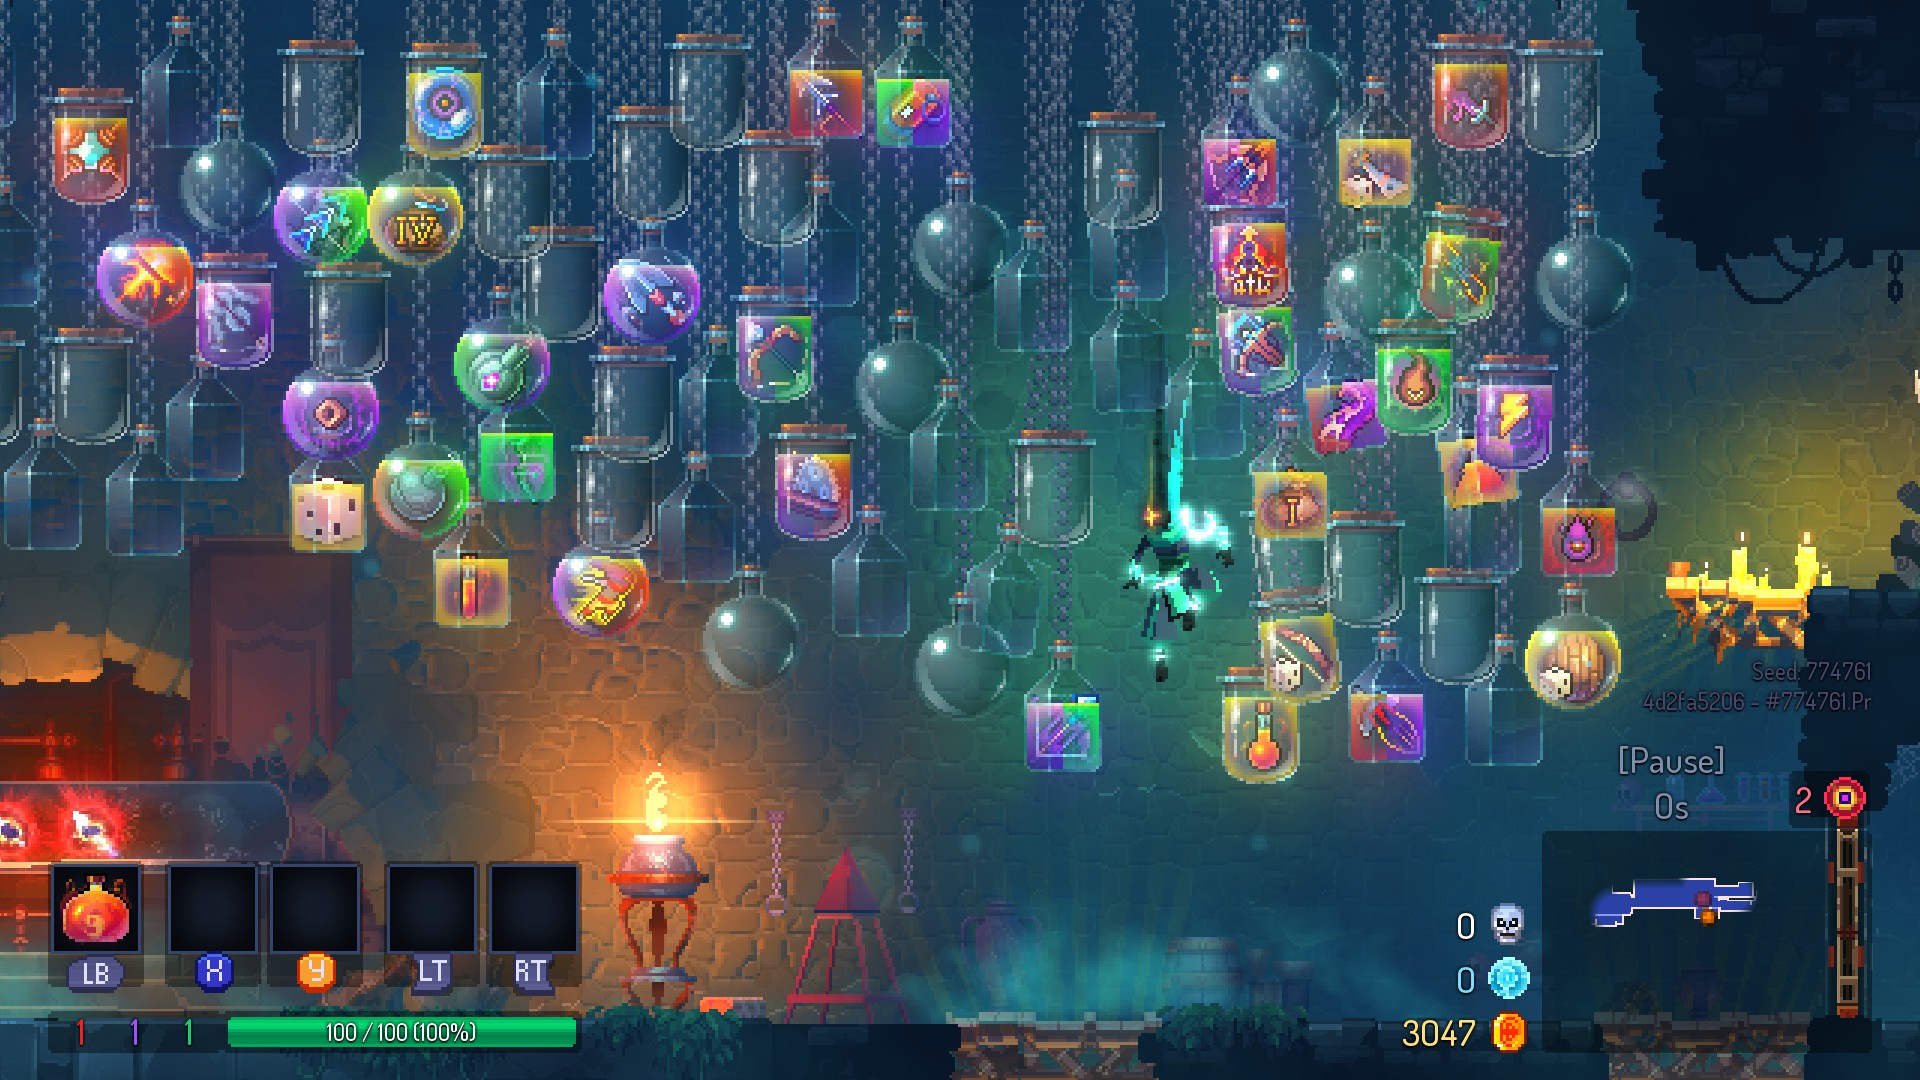
The other form of character progression in a run is through assembling a loadout with randomly dropped Gear. Gear is divided between melee weapons, ranged weapons, shields, traps & turrets, grenades, and powers. You have 4 equip slots, the first 2 holding weapons and shields from the first 3 categories, the second 2 holding utility gear from the latter 3 categories. Many locations in the game drop gear, from treasure chests to shops, to rooms where you can choose 1 item between 2 or 3 selections, all of the same value. Helpfully, the in-game timer is paused during in these rooms to help you make decisions (though you can turn this setting off).
Most weapons have a condition that triggers critical hits, such as striking repeatedly, hitting the enemy from a particular side (assuming the enemy has sides), pushing the enemy against a wall, being at close range or far, attacking after a roll, hitting multiple enemies, or multiple in quick succession, letting you charge it for a crit, or critting when the enemy has a certain status condition. Others might not crit, but still have useful properties, like inflicting a status condition, bypassing shields, knocking enemies back, lassoing you to the enemy, freezing enemies, or hitting across a unique zone. Together these can really affect what angle you try to attack enemies from in terms of distance, high or low, front or behind, how many you target at once, etc. Because multiple enemies can be overwhelming, crowd control is a big deal, and which weapons you have available affects your ability to manage a crowd.
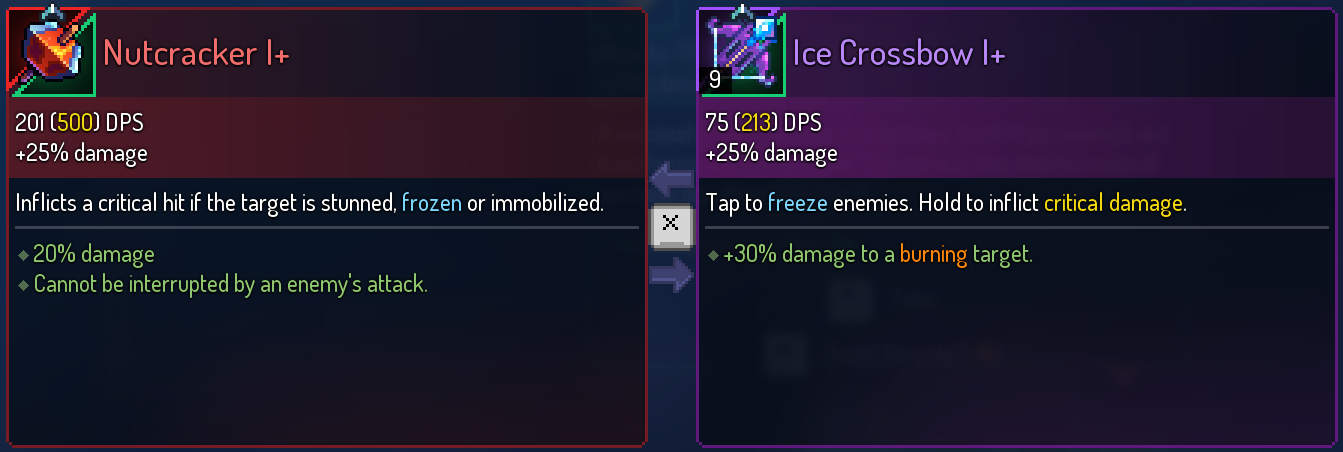
Weapons also have randomized loot effects that helps distinguish them from one another, and make your loadout more unique across playthroughs. Sometimes I’ve gotten abilities that synergize very well for massive combos, and debated giving them up for weapons with lower base damage than the combo, but a higher crit damage under more dangerous circumstances. Most special effects either inflict statuses or deal bonus damage to enemies currently affected by status conditions, so trying to line those up between your weapons adds a small layer of adaptation to your runs and can sometimes shift you away from your preferred weapons to pick up a high damage combo based on random drops happening to line up with each other. The overall table of effects is massive and many are tailored to specific weapon categories. Figuring out how to synergize weapon effects on the fly can be very fun during runs. Also seeing when you are about to have a special effect combo with another, and rerolling or watching out for the right effect to complete the combo. It adds a layer of meta strategy to how you approach a run, and it has a big effect on your damage output. I normally don’t use throwing knives, but getting a weapon that deals extra damage on bleeding enemies can make it worthwhile.
Skills are gear that occupies the second two inventory slots, divided between Traps and Turrets, Grenades, and Powers. Skills work on cooldowns that take a while to refill, which can cost you time if you really want to use skills on multiple enemies in a row. Traps and turrets deal damage over time, sometimes inflicting status effects for even more DPS. The effect of these can depend on how mobile the enemy is, or the terrain. They tend to inflict more damage overall than grenades, but it takes longer for that damage to play out, which can be better or worse depending on whether a grenade would have oneshot the enemy or if you’re in for the long haul. Traps and turrets also effect different areas, such as a certain patch of ground, or anything onscreen along a horizontal line, or holding the enemy in place. Grenades vary between damage and status effects, some of which stun or hold enemies in place briefly, but in my experience the stun effects aren’t very helpful in comparison to that of the wolf trap or freezing weapons. Powers have a lot of varied effects that I’m not gonna bother listing here.
Dead Cells is an extremely fair game. All enemies have telegraphed attacks with a clear way to avoid them and even your most basic combat options are enough to beat any enemy. It’s always possible to get into any enemy’s face and smack them, then move out of the way when they’re going to attack. I feel like the hand of the king was more overwhelming than most, but I only fought him like 3-4 times total, so I can’t really judge. You have free reign of when to engage enemies, so if you end up in an inescapable situation, it’s your fault. The times when I died, I immediately said to myself, “Darn, should have done this.” I feel like across the many weapons you encounter on a given playthrough and all the mulligans you’re given, it’s nearly impossible to assemble a completely ineffectual loadout as long as you’re deliberately trying to succeed. Getting extremely effective layouts is more rare, but I’m not a speed runner (and they rely on static drops or custom game modes to reduce drop randomness), so it doesn’t really matter to me.
Following in the roguelite design trend, there are permanent upgrades you can unlock with currency (cells) you earn in runs. Most of these are new gear that gets added everywhere across the game. You can upgrade the number of healing potions you have, you can add a random weapon or shield at the start, gain the ability to sell any piece of gear at a fraction of the cost, retain gold from the previous run (up to a maximum), and add new options to shops. There are also Runes that can be obtained by fighting elite enemies that spawn in particular parts of particular levels, instantly giving you permanent upgrades, mostly in the form of new traversal options, granting access to levels that are normally gated behind vines, teleportation sarcophagi, breakable floors, or tall towers that must be walljumped up. You collect blueprints from enemies that enable you to unlock new gear and mutations as you play. Some blueprints are in static positions, but most are rare enemy drops. The Hunter grenade is an item that lets you get a blueprint guaranteed from an enemy by turning it into an elite enemy, and weakening it, much like a pokemon battle, making the process of getting blueprints out of specific enemies less tedious. The legendary forge always appears after completing the first boss stage, allowing you to increase the drop rate of higher level gear you discover across runs, even up to 100% and across 3 tiers of upgrade. You are by no means required to get these upgrades to complete the game, and the game is specifically designed to be completable regardless of whether or not you have unlocked a variety of weapons and other upgrades.

You gain a new boss stem cell every time you complete a run on a new difficulty level. Later difficulty levels have different combinations of enemies, with new effects and more health/damage, and less healing readily available, but temper it with allowing you to upgrade weapons further, and gain more levelup scrolls during levels so you can ascend to a higher level of power. There are many doors leading to bonus rooms that can only be opened when you’re on a certain minimum difficulty, with more becoming available as you go. I’ve only made it to very hard mode, but looking at the list of changes between difficulties, the higher difficulties look extremely scary, demanding a level of perfection, while also bombarding you with enemies that track you tightly with teleportation.
Dead Cells actually has a number of hidden or subtle mechanics, such as Rally, taken from Bloodborne, where you can recover immediately lost health by attacking enemies. Breach is Dead Cells’ version of Poise from Dark Souls. Enemies and weapons take/inflict different amounts of breach damage, depending on the enemy’s state, and too much breach damage will inflict the stunned status on enemies, preventing them from acting for a second. This can be useful for crowd control. There is a speed buff granted for killing 9 enemies in quick succession, letting you refresh it with each enemy you kill. Curses will kill you instantly if you take damage, unless you can kill 10+ enemies first. Liquids on the floor can be frozen or electrified, and prevent enemies from burning. Breaking through doors will instantly stun enemies, and some weapons even take advantage of this. These touches can be really significant in your moment to moment strategy, even if they’re subtle.
Dead Cells is extremely successful at its core competencies. It has a genuinely varied set of enemies and weapons that interact uniquely and synergize amongst each other. It has level design that frequently changes how you approach encounters. The only thing I’d say holds it back is that each weapon can only perform 1 attack, and while there are certainly synergies between the elemental types and critical hits of different weapons, only having 2 weapons and 2 cooldown powers is kind of limiting. There could be more movement and defensive options and there could be more types of obstacles in the levels than just spikes, chainballs, and acid/poison pools. Even so, it asks you to carefully consider your position, movement, and choice of option in a way that is different per encounter, and which naturally shifts over the course of most encounters. You can approach a lot of early encounters as rushing down whichever of the 2 enemies is more vulnerable, then locking down the lone enemy that remains, but this gets harder on higher difficulties and later stages as you have more to worry about, and enemies get more competent individually. Dead Cells has a large number of combat abilities that by themselves would be very deep in an NES era game, and lets you pair them up and play off the environment with them. When encounters have 3-4 enemies, or 2 complex late-game enemies is when I feel like the game really starts to shine, as you can’t perform a quick rushdown and unload all your ammo and abilities to get an enemy out of the way quickly, or focus fire an enemy without worrying about another interrupting you.
I’m really conflicted on the score to give this game. My anti-hype gut says 8, my personal like and enjoyment of the game says 9, and a lot of my mechanical reasoning wavers between 8 and 9. I think I’ve given some games on its level a 10, so it’s a really tough call. I think I have to go with a 9.
